
Kindergarten Kites
April brought many gifts this spring — including the gift of kite making!

By Saara Fahey, Huckleberry Kindergarten Teacher
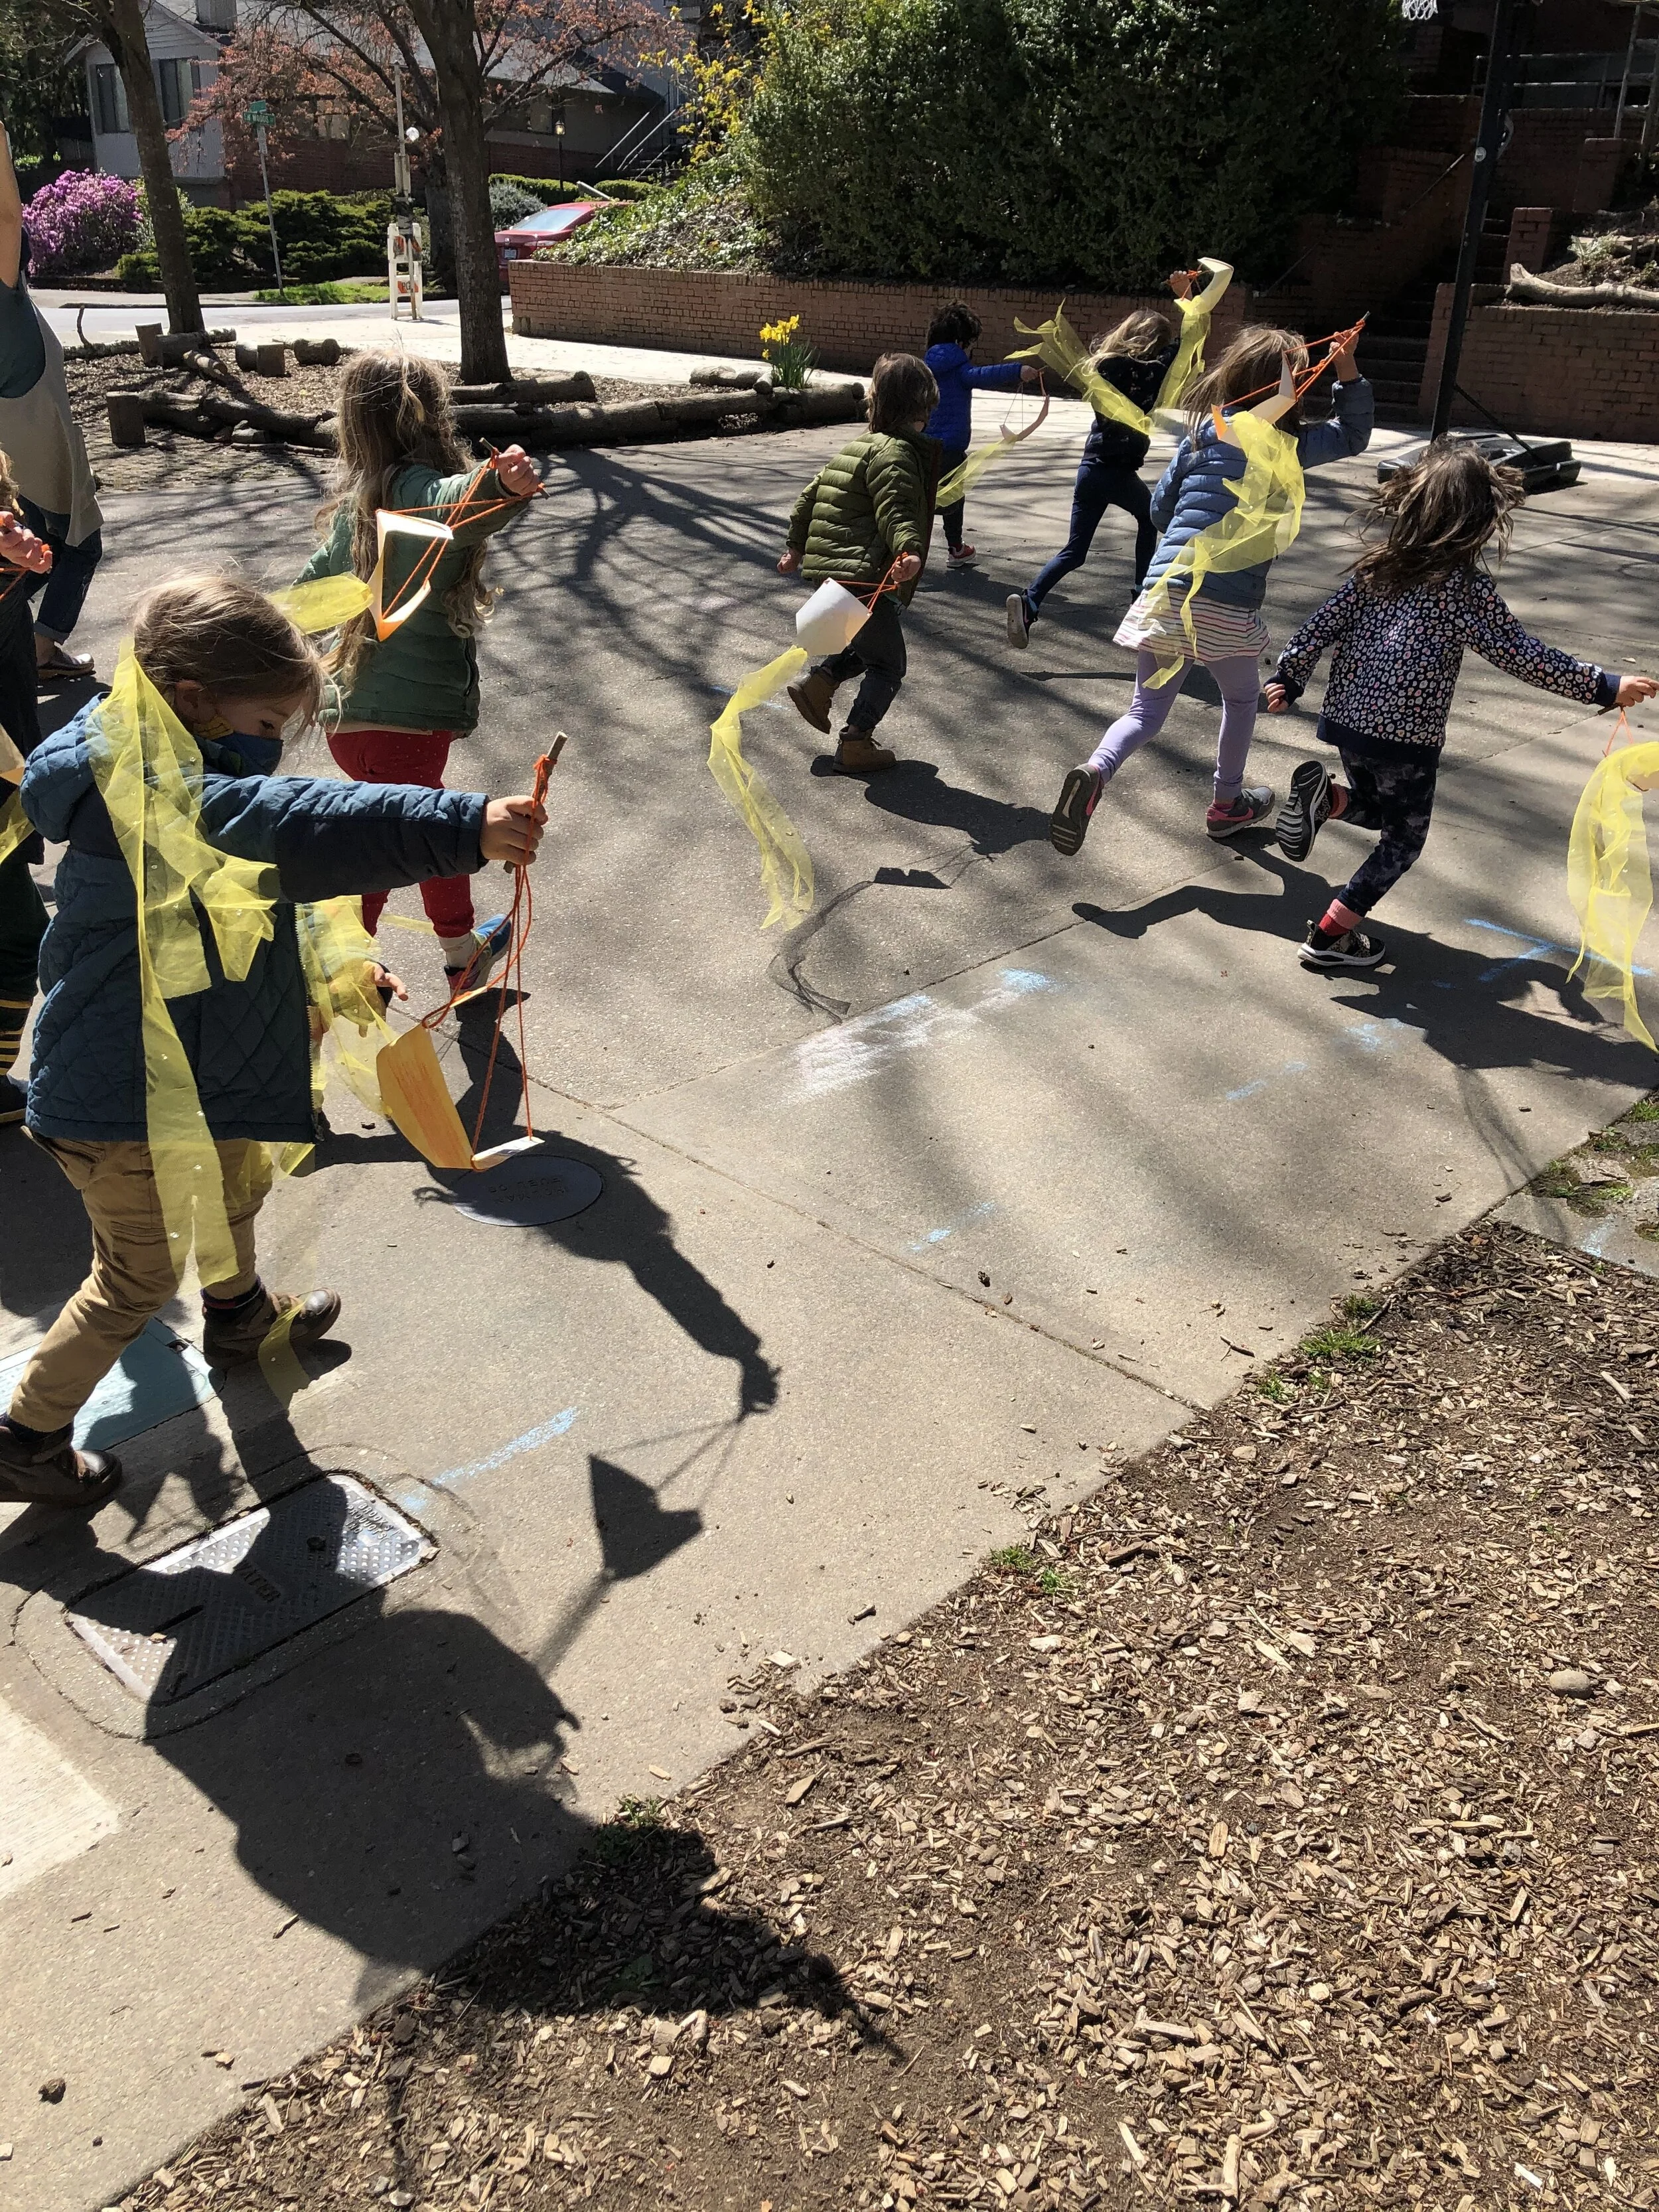
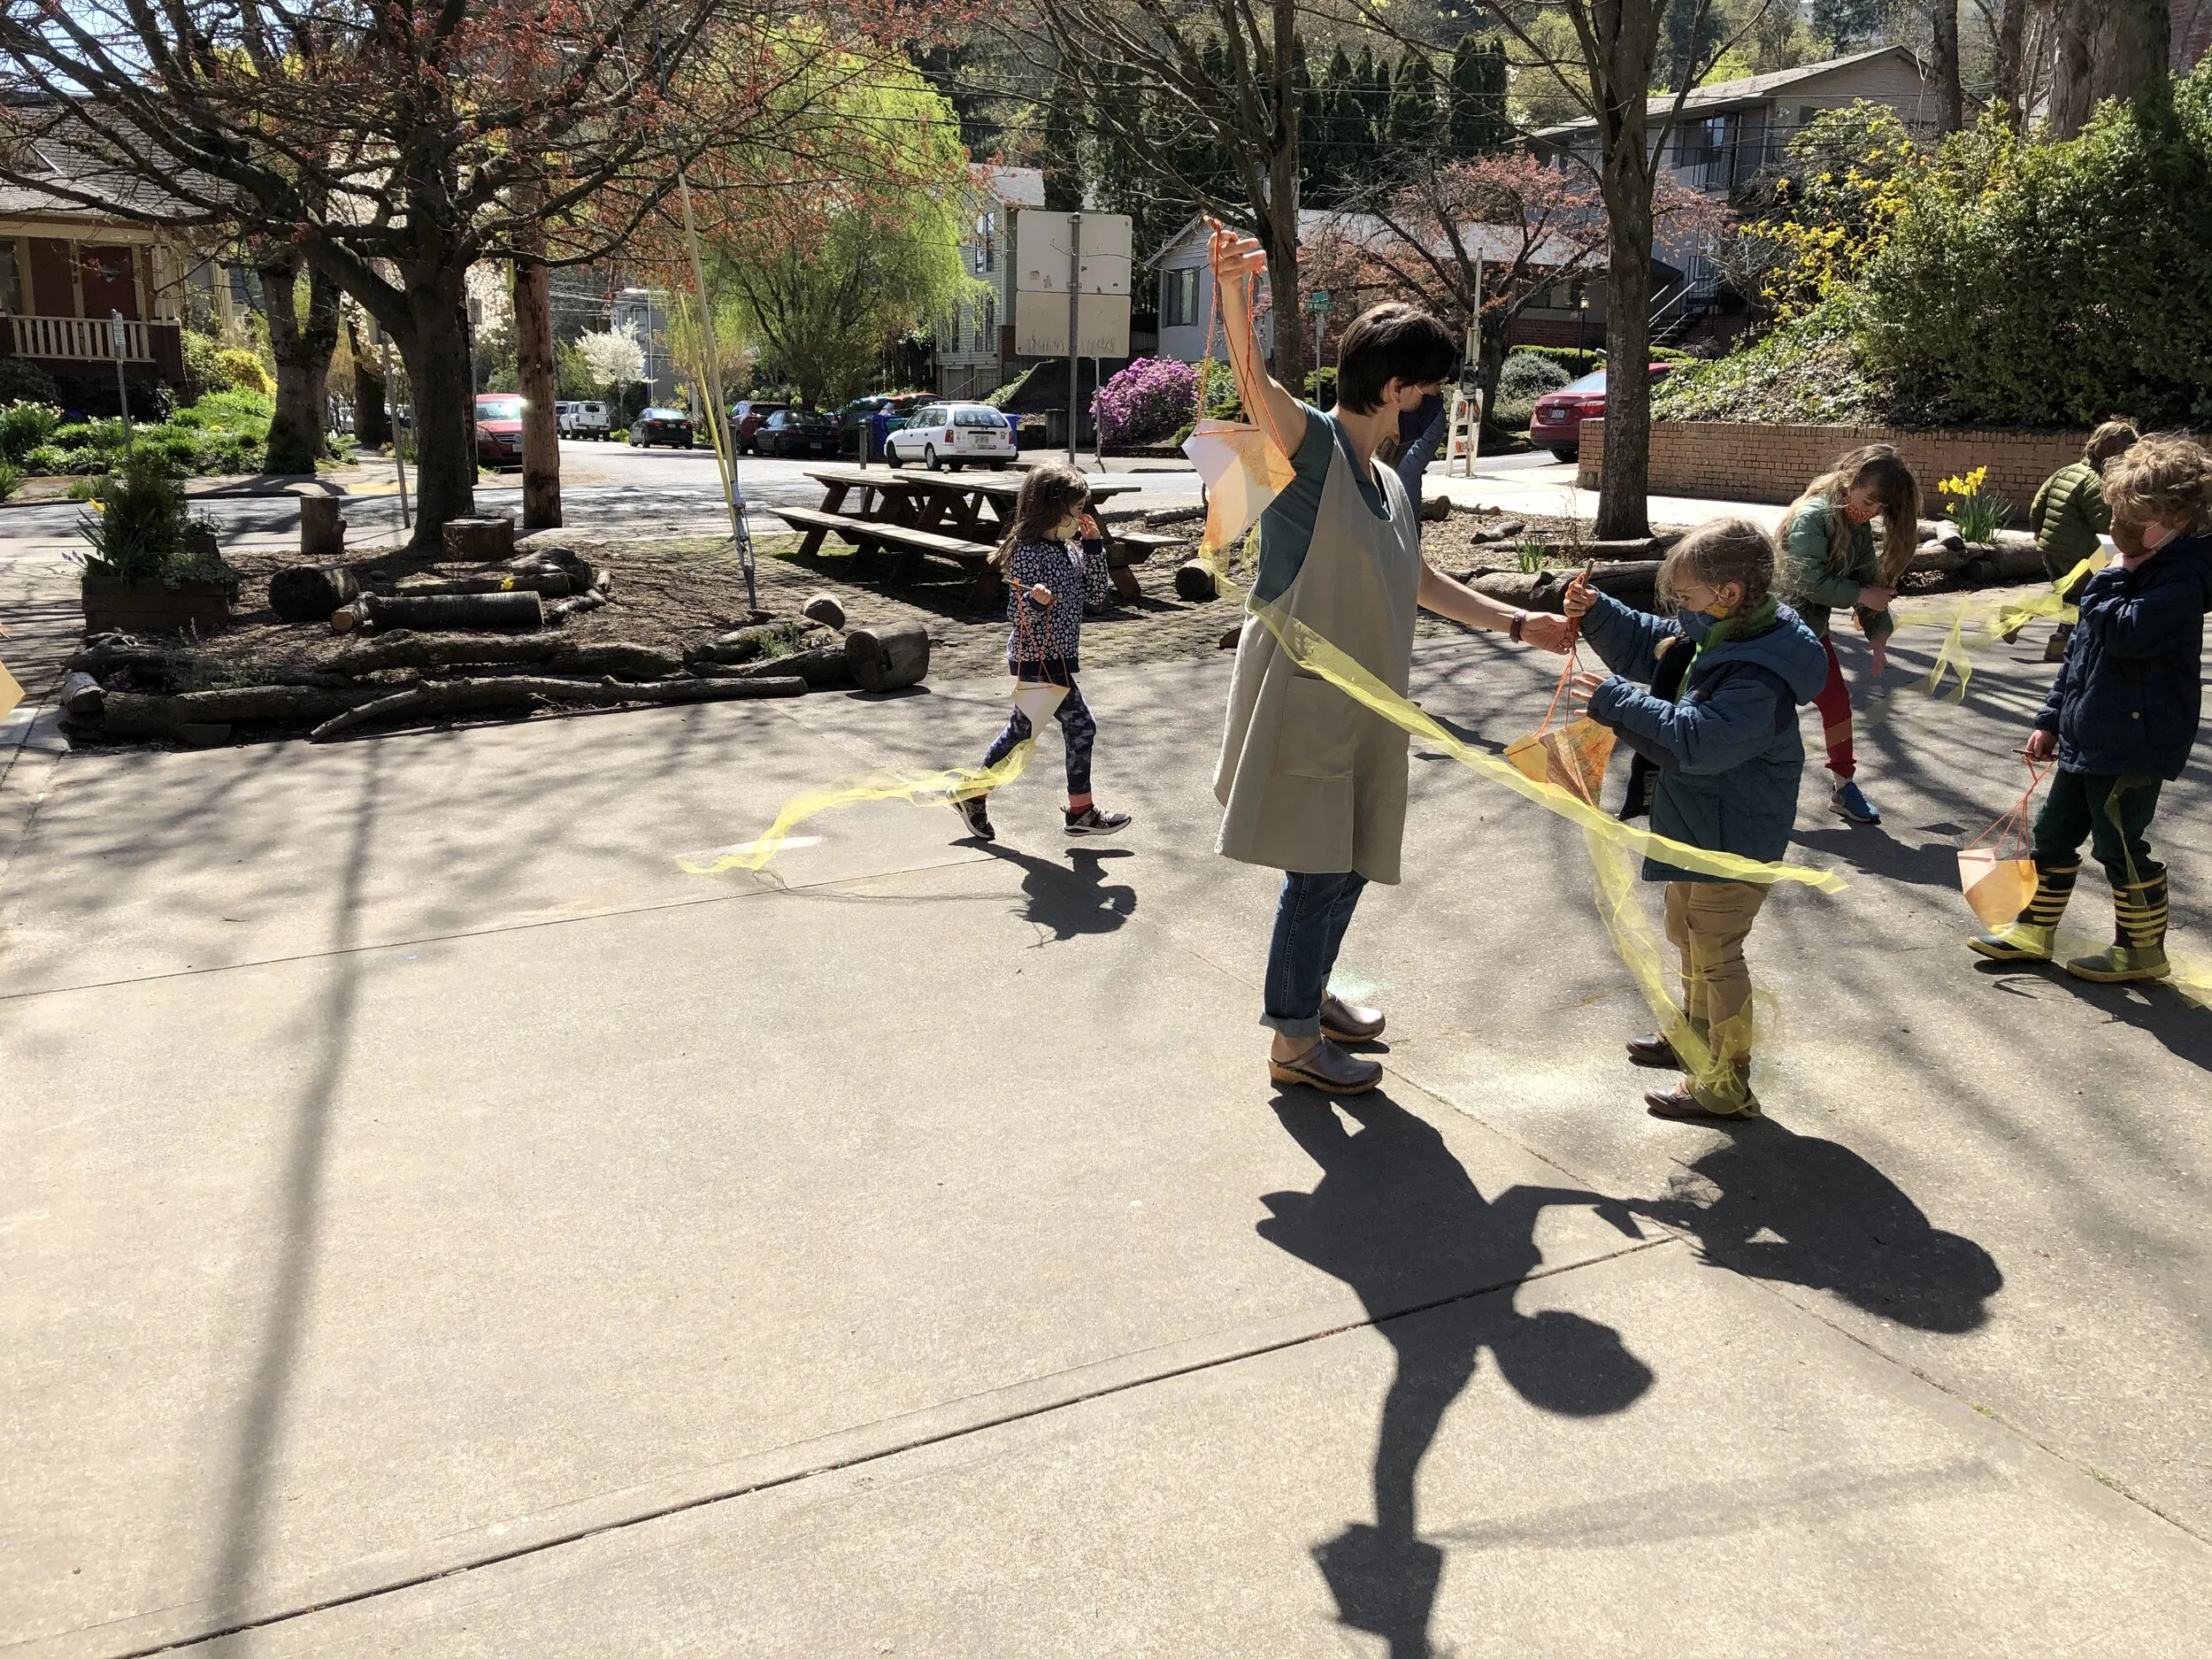
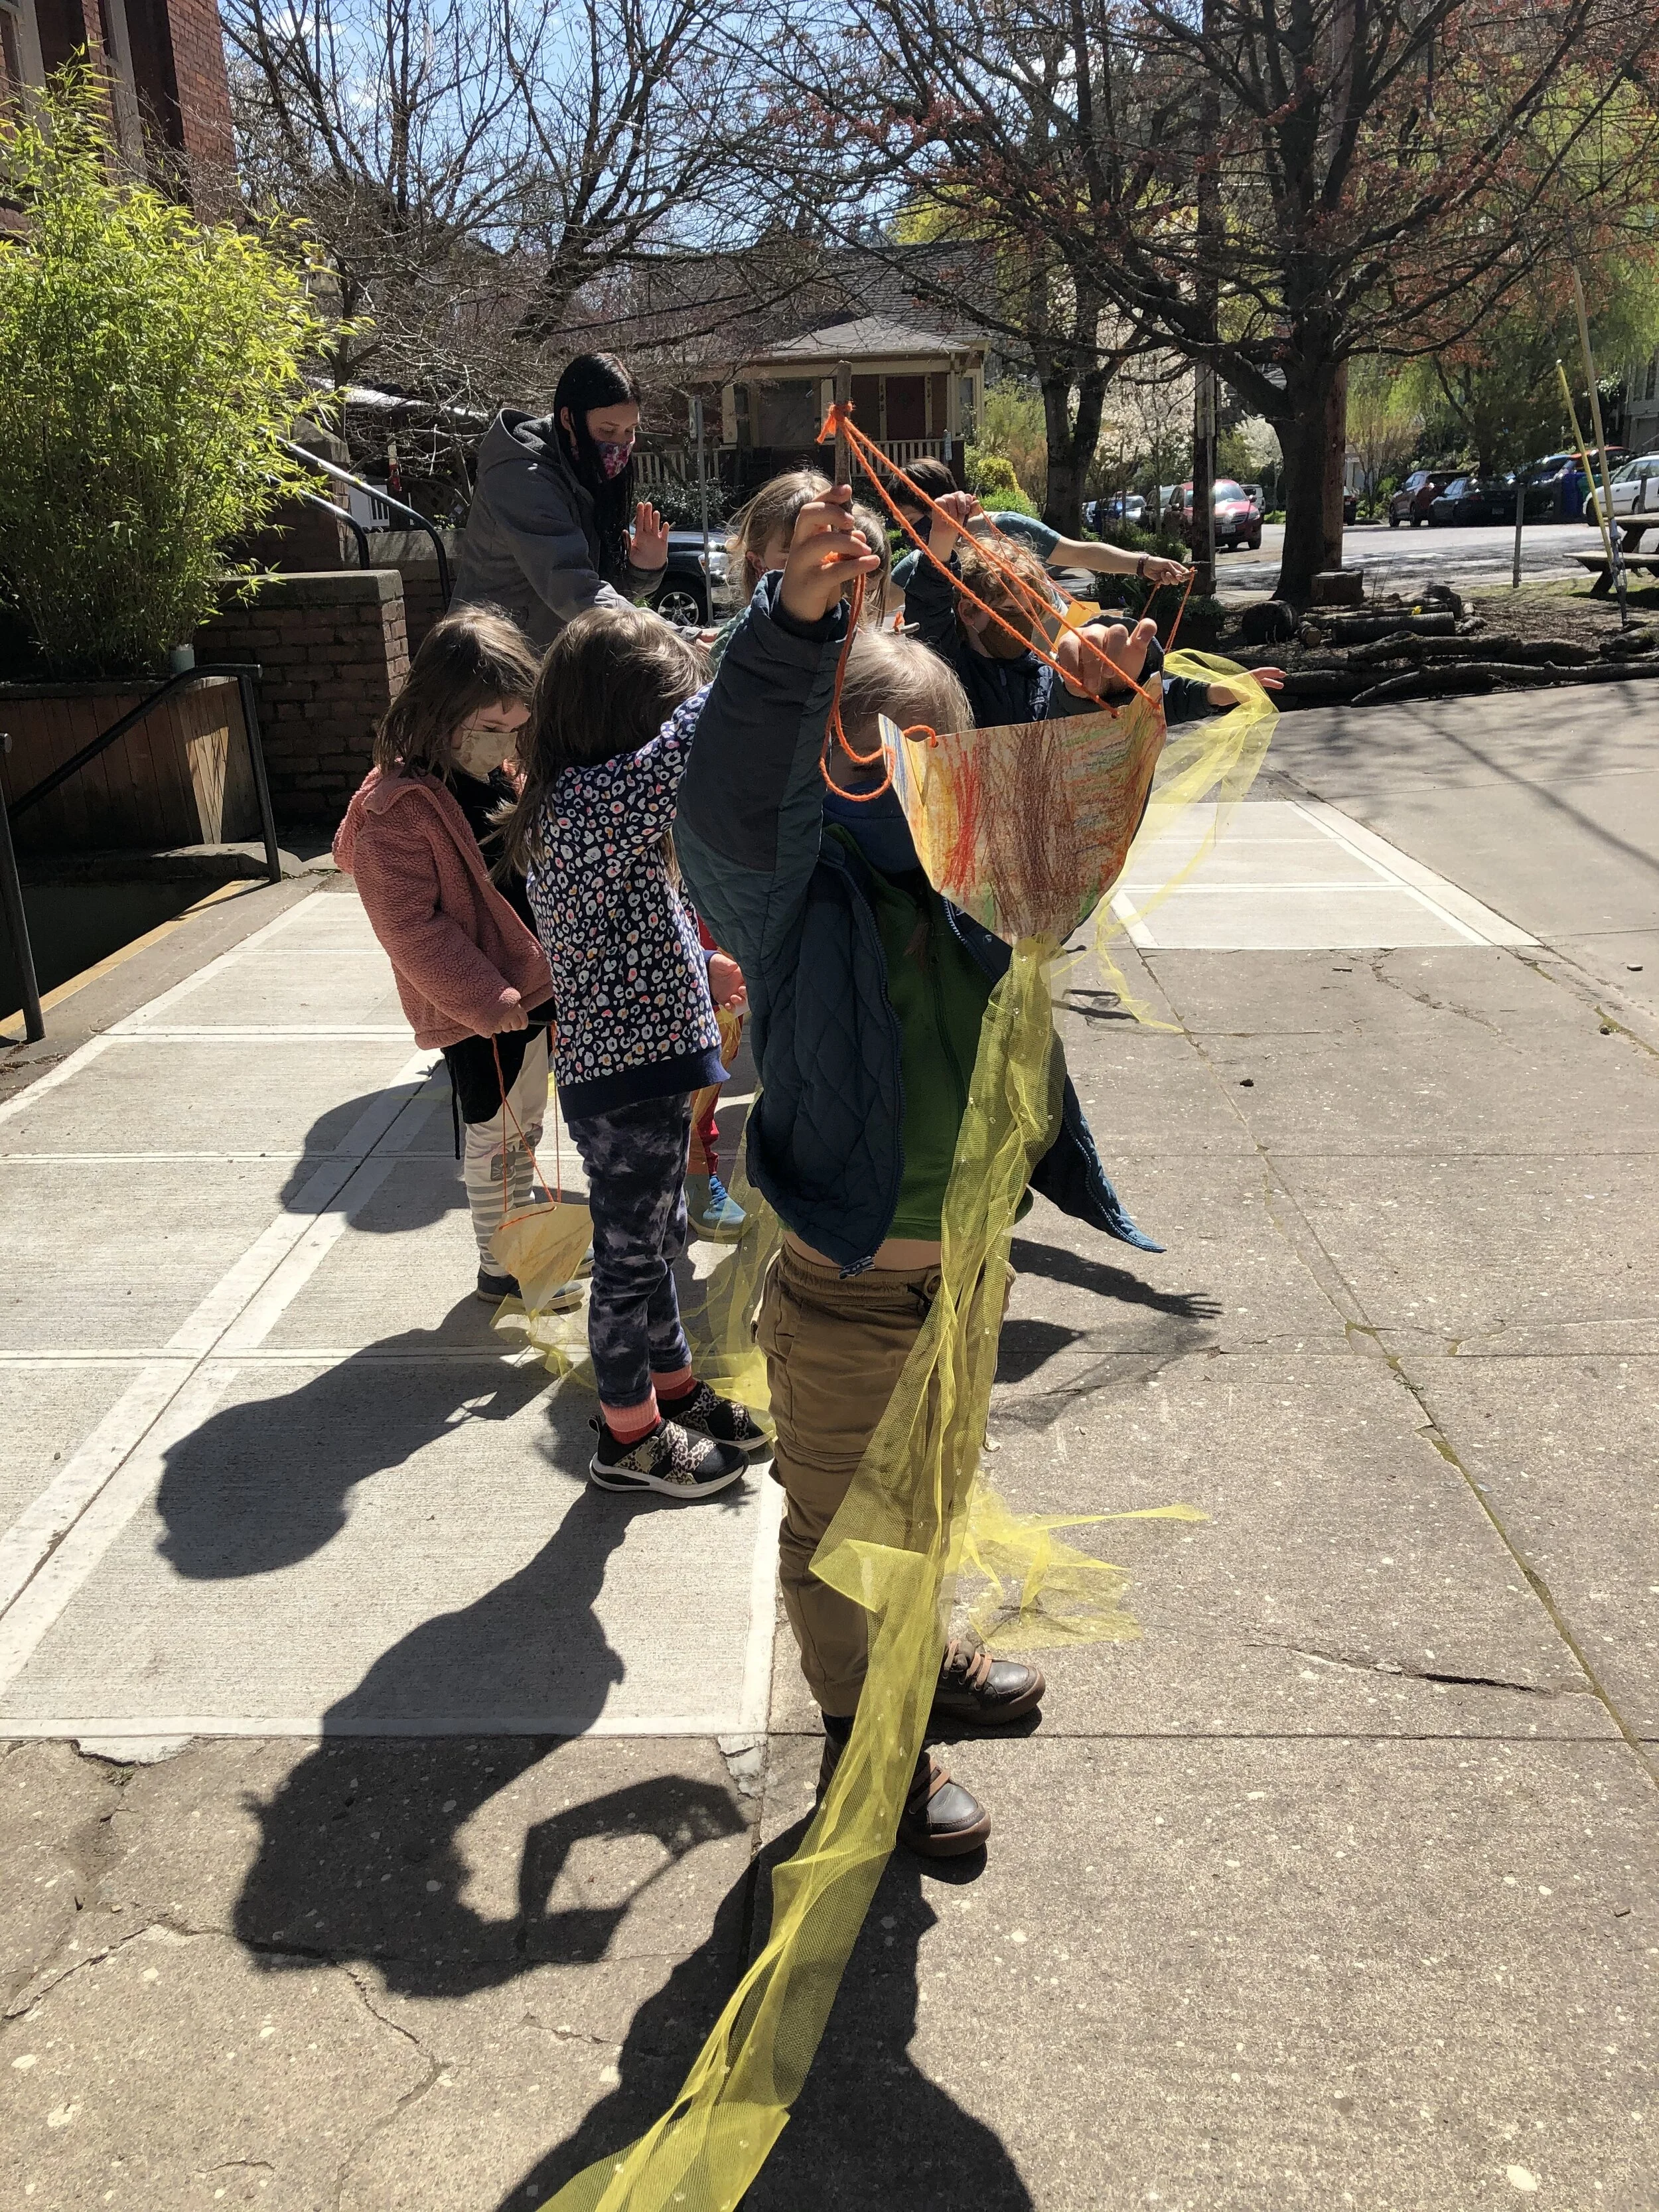
The Huckleberry kindergarteners recently made and flew kites to mark the change of season and welcome spring. They talked about how children all around the world make and fly kites, just like they did.
Make a kite at home!*
Materials:
A3 sheet of watercolor paper
Watercolor paint & paintbrush
Hole punch
Thin straight stick or dowel
Ball of string
Sticky tape
Fabric streamer (silk, netting, anything works!)
Ball of yarn
Colored pencils
Scissors
Glue
Start by painting your A3 sheet of watercolor paper in the colors of your choice. When your painting is dry, cut out a kite shape.
With the painted side of the kite facing upwards, fold the wings of the kite inwards. Take your thin stick or piece of dowel and cute two 5” lengths, using hot glue to attach the sticks to the painted side of the kite along the folds.
Please a strip of tape along the outside of the kite wings, and three pieces of sticky tape on the top of the kite next to each stick and on the bottom point of the kite. Next, use your hole punch to make five holes through both the tape and paper, at the center of each wing edge, at the two top points and the bottom point.
Now you can further decorate your kite as you choose!
Cut four 12” lengths of string and tie one end of each piece of string to the four points on the kite. Draw the loose ends of the string together at the front center of the kite and tie together securely, leaving a short tail.
Use the yarn to braid, finger knit, or weave a 12” rope for the kite. Tie the loose end of the yarn rope to the knot in the strings.
Insert one corner of the fabric streamer through the hole on the bottom of the kite from front to back. Turn the kite over, pull the corner of the silk through, and tie in a firm knot.
Take your kite out for flight on a breezy spring day!
*These instructions are inspired by Sarah’s Silks Kites!